Your Cart is Empty
Add description, images, menus and links to your mega menu
A column with no settings can be used as a spacer
Link to your collections, sales and even external links
Add up to five columns
Add description, images, menus and links to your mega menu
A column with no settings can be used as a spacer
Link to your collections, sales and even external links
Add up to five columns

The Art of Repotting for Healthier Growth
May 31, 2023 3 min read
Repotting is a fundamental practice that allows us to care for and nurture our beloved plants. Whether you're a seasoned plant parent or just starting your green journey, understanding when and how to repot your plants is crucial for their overall health and vitality. In this blog post, we will delve into the art of repotting, exploring its benefits, when to repot, and the step-by-step process to ensure successful transplanting. Get ready to give your plants a fresh start and witness the flourishing growth that follows.

Why Repotting Matters
Repotting is essential for plants as they outgrow their current containers. It provides several benefits, including increased root space, improved nutrient absorption, better drainage, and enhanced aeration. Repotting also allows you to refresh the potting mix, removing any compacted or depleted soil, and replenishing it with fresh nutrients to support healthy growth.

Signs It's Time to Repot
Knowing when to repot your plants is key to maintaining their well-being. Look out for signs such as roots emerging from drainage holes, slow growth despite proper care, water quickly running through the pot without being absorbed, or the plant becoming top-heavy and unstable. These indicators suggest that your plant has outgrown its current container and is in need of a larger home.
The Step-by-Step Repotting Process
-
Prepare the new pot: Ensure the new pot is clean and has drainage holes. Add a layer of fresh potting mix at the bottom to create a suitable foundation for the plant.
-
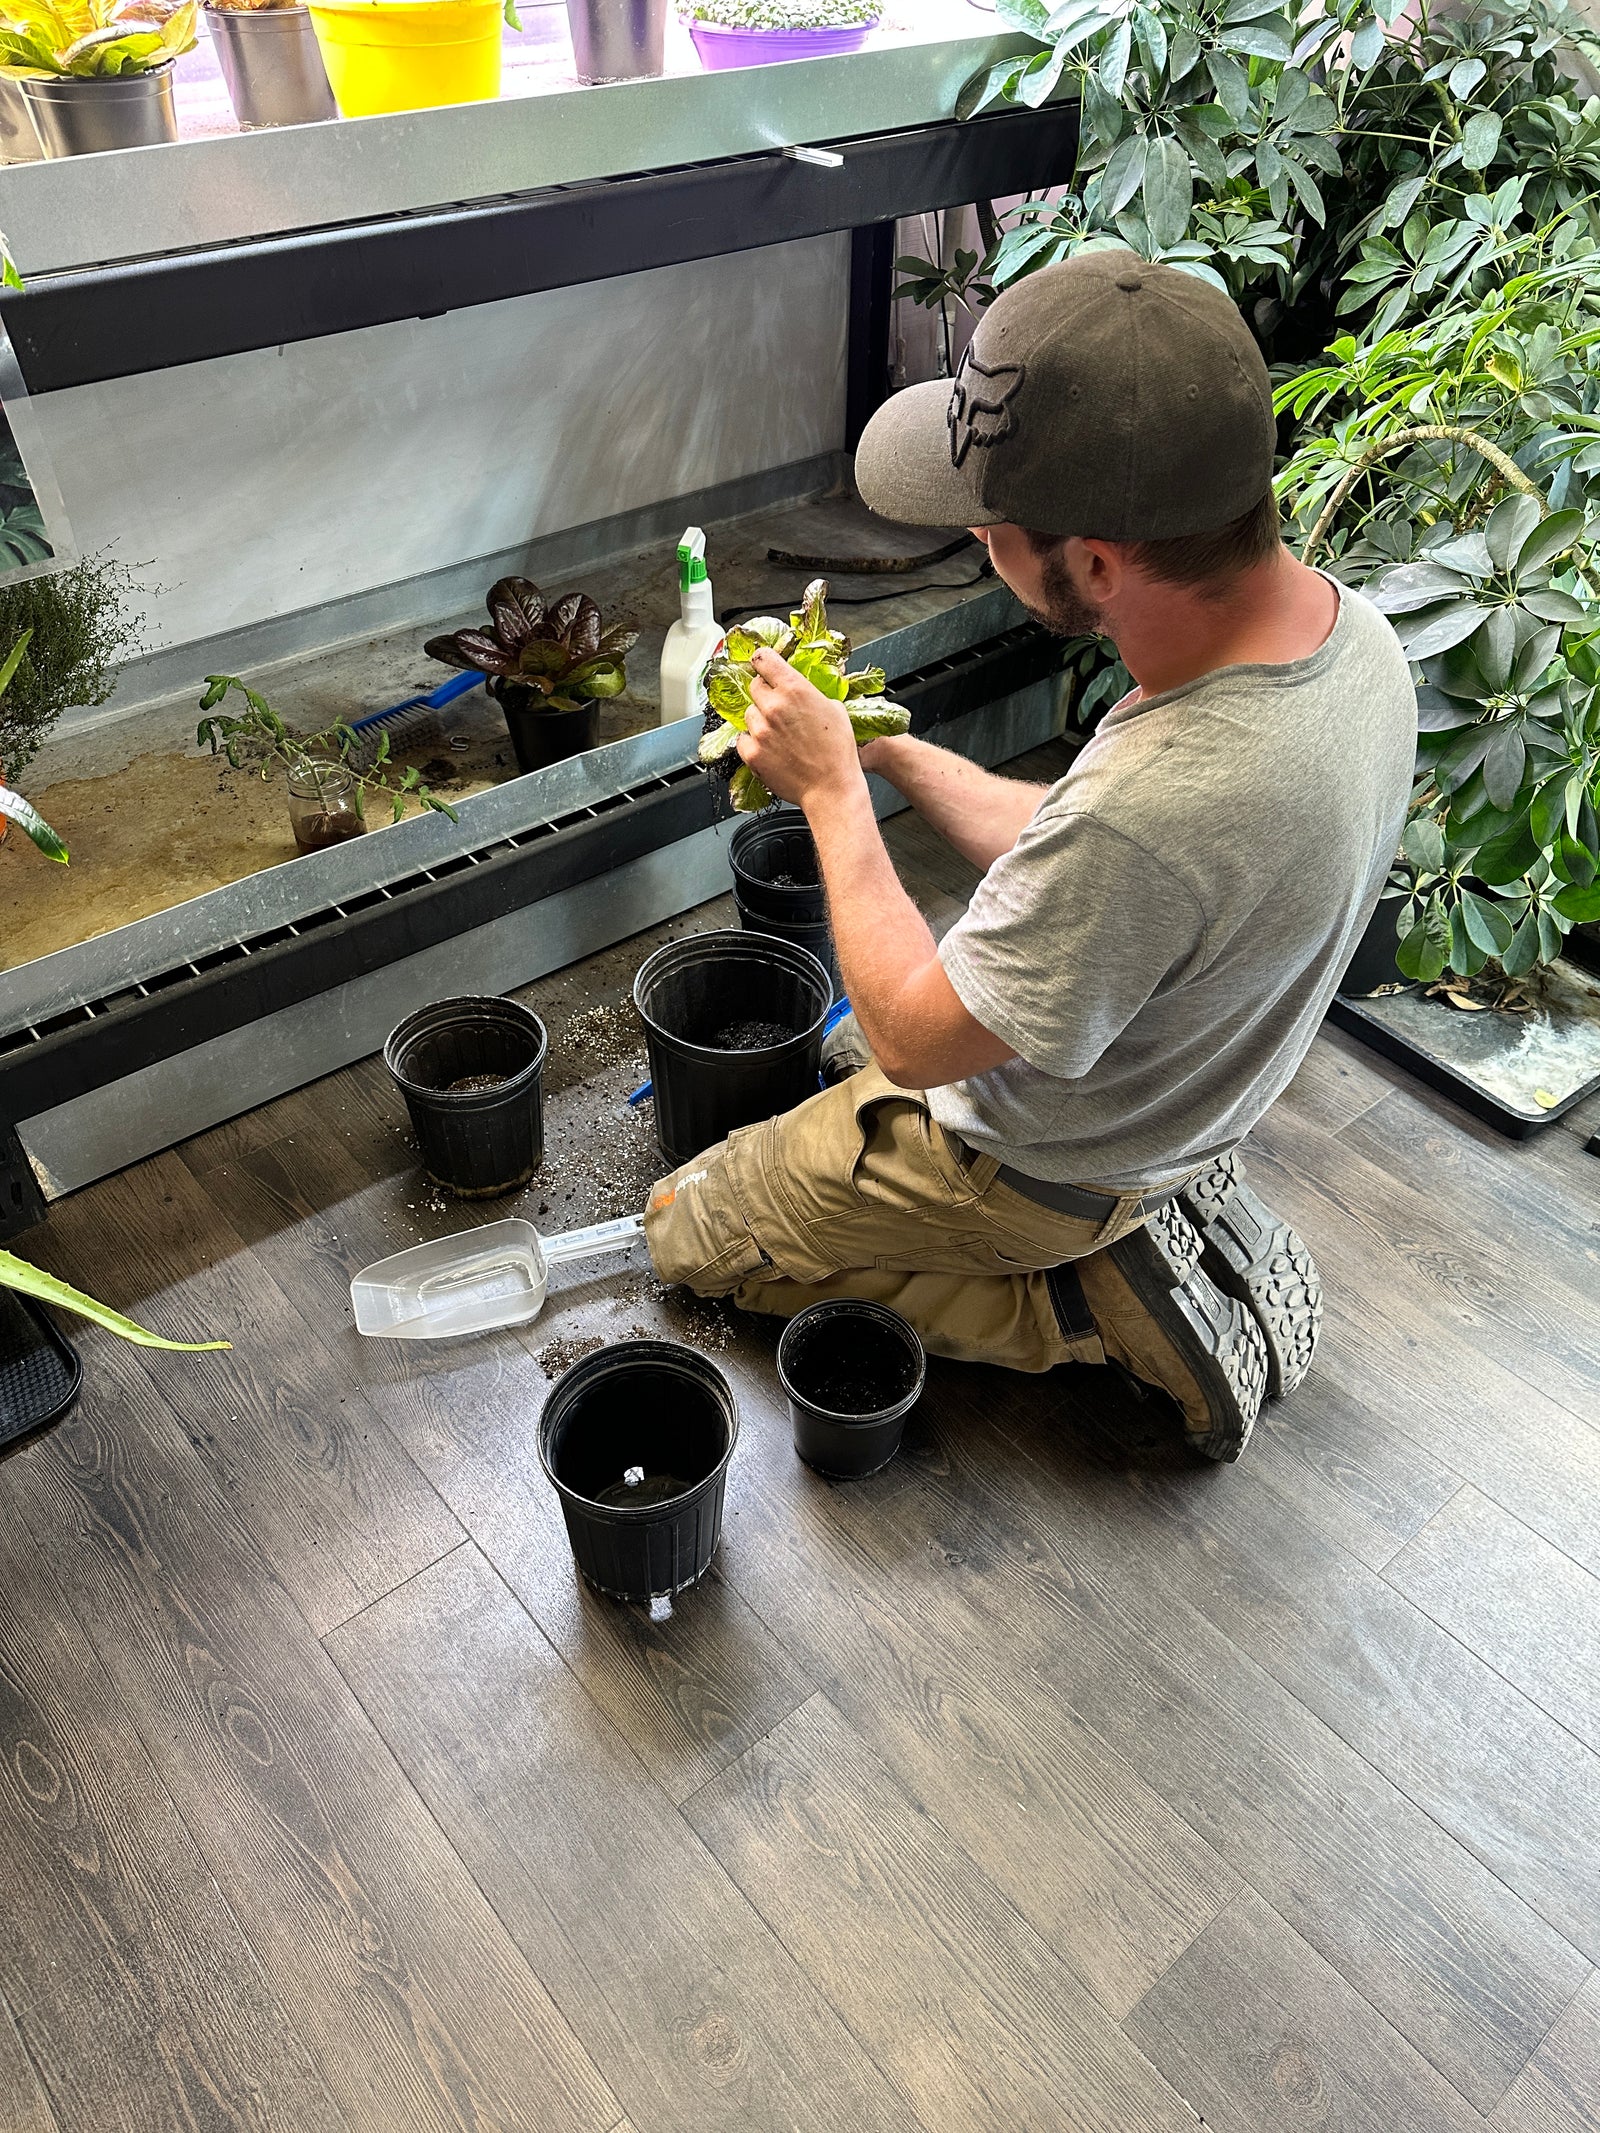
Gently remove the plant from its current pot: Carefully loosen the root ball by tapping the sides of the pot and gently pulling the plant out. If the roots are tightly bound, you can lightly tease them apart to encourage outward growth.
-
Inspect and trim roots (if necessary): Trim any damaged or excessively long roots, but avoid removing healthy ones unnecessarily.
-
Place the plant in the new pot: Position the plant in the center of the new pot and add potting mix around it, ensuring the plant sits at the same height as before. Gently press the soil to provide stability.
-
Water and settle the plant: Thoroughly water the plant to settle the soil and eliminate air pockets. Allow excess water to drain away.

Post-Repotting Care
After repotting, provide your plant with appropriate care to support its recovery and encourage healthy growth. Place the plant in its ideal light conditions, adjust watering based on its specific needs, and gradually reintroduce fertilization. Avoid placing freshly repotted plants in direct sunlight or overwatering, as this can stress the plant. Monitor your plant's response to the repotting process and make adjustments as necessary.
Repotting is an essential practice in plant care that allows us to provide our green companions with the optimal growing conditions they need to thrive. By understanding the signs indicating the need for repotting and following the step-by-step process, we can rejuvenate our plants and promote healthier growth. With proper repotting techniques, your plants will have the space and nutrients they require to flourish, rewarding you with vibrant foliage, abundant blooms, and a thriving indoor garden. So don't hesitate to give your plants a fresh start through repotting and watch them reach new heights of beauty and vitality. Happy gardening!
Subscribe
Sign up to get the latest on sales, new releases and more …


